Just to demonstrate how fast you can get going, I also did my own little test... I set myself a goal to build a bot with one sensor in less than 15 minutes... it took 9. It's nothing great to look at, but I'm also going to time myself programming it... basic forward/backward motion, turns, and some minor control via the sound sensor. I'll post the "15-minute program" as a separate post. I'm also going to be posting more photos on Flickr... I just wanted to give you SOMETHING just in case I have difficulty with Flickr...
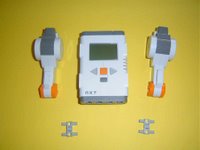 I started with the brick, 2 motors and 2 connectors. Yes, I know there's an official name and number for the connectors. And no, I don't care about that at this point... I'm just building.
With the motors sitting as shown, programming a motor to move forward will cause it to turn towards the bottom of the picture... you have to recognize what is the 'top' of a motor and the 'bottom' so you don't have to do trial-and-error. The thick grey stripe on the top of a motor is how I determine 'top'.
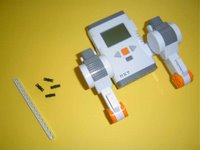
Here I've connected the motors. They're a little loose/unstable with just the connectors I've chosen, so I reinforce the motors by using a 15-hole beam. It's not an elegant solution... just a solution (for now).
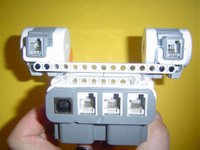
Here you can see how I've reinforced the motors by connecting across the brick. Again, it goes over the top of the brick and doesn't look great, but I'm on the clock... so cut me a little slack :)
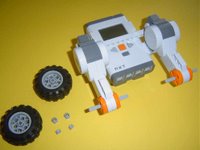
I'm using these parts for the wheels. To keep the wheels from rubbing against the orange motor face, I use the small bushings as spacers... the other bushings go on the other side to hold the rod - but the rods are good and tight in there, so the extra bushings weren't really needed.
Okay, that concludes the partial walkthrough. The rest of the build can be found on Flikr. Do a keyword search using the following tags:
"The NXT Step" Jimbot
(Be sure to put The NXT Step in quotes as shown above.)
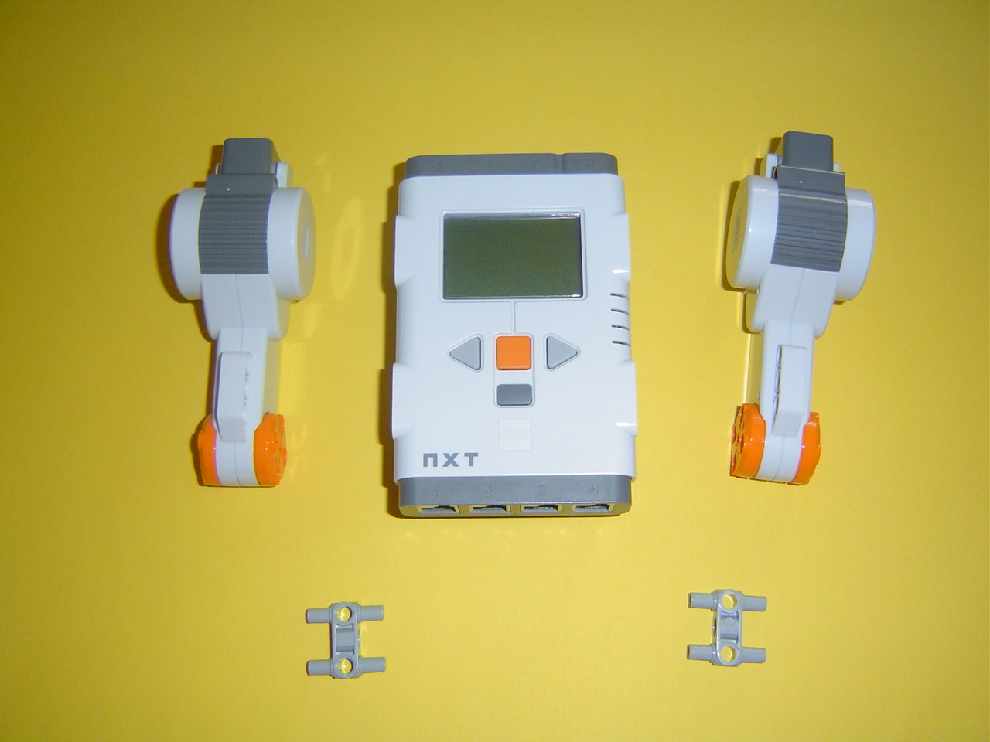 I started with the brick, 2 motors and 2 connectors. Yes, I know there's an official name and number for the connectors. And no, I don't care about that at this point... I'm just building.
With the motors sitting as shown, programming a motor to move forward will cause it to turn towards the bottom of the picture... you have to recognize what is the 'top' of a motor and the 'bottom' so you don't have to do trial-and-error. The thick grey stripe on the top of a motor is how I determine 'top'.
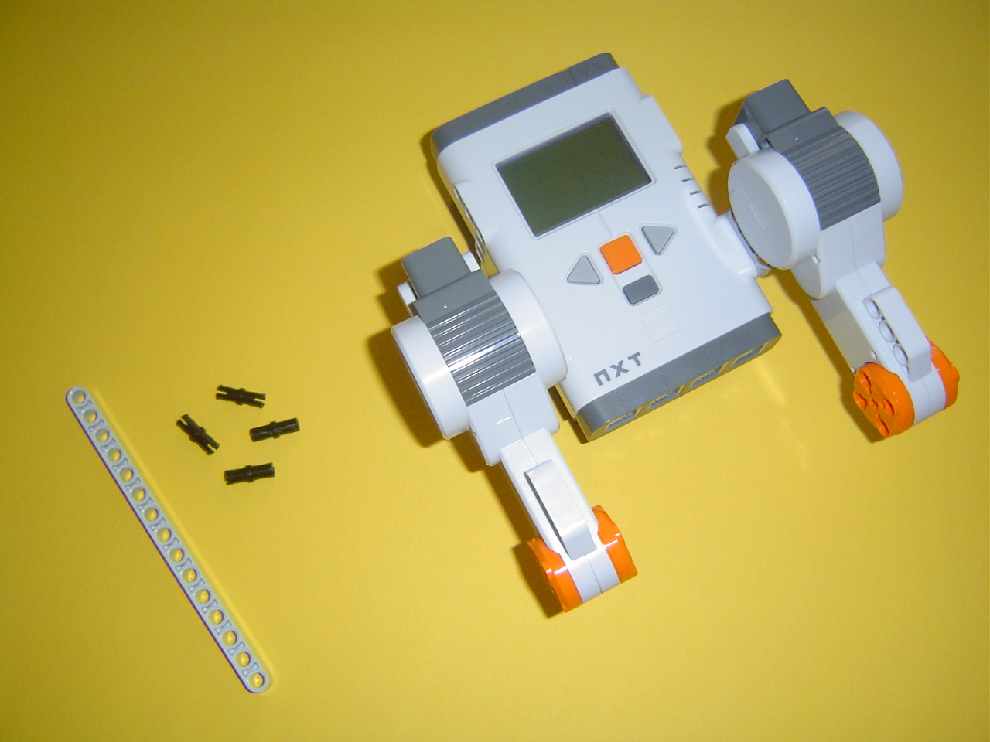
Here I've connected the motors. They're a little loose/unstable with just the connectors I've chosen, so I reinforce the motors by using a 15-hole beam. It's not an elegant solution... just a solution (for now).

Here you can see how I've reinforced the motors by connecting across the brick. Again, it goes over the top of the brick and doesn't look great, but I'm on the clock... so cut me a little slack :)

I'm using these parts for the wheels. To keep the wheels from rubbing against the orange motor face, I use the small bushings as spacers... the other bushings go on the other side to hold the rod - but the rods are good and tight in there, so the extra bushings weren't really needed.
Okay, that concludes the partial walkthrough. The rest of the build can be found on Flikr. Do a keyword search using the following tags:
"The NXT Step" Jimbot
(Be sure to put The NXT Step in quotes as shown above.)