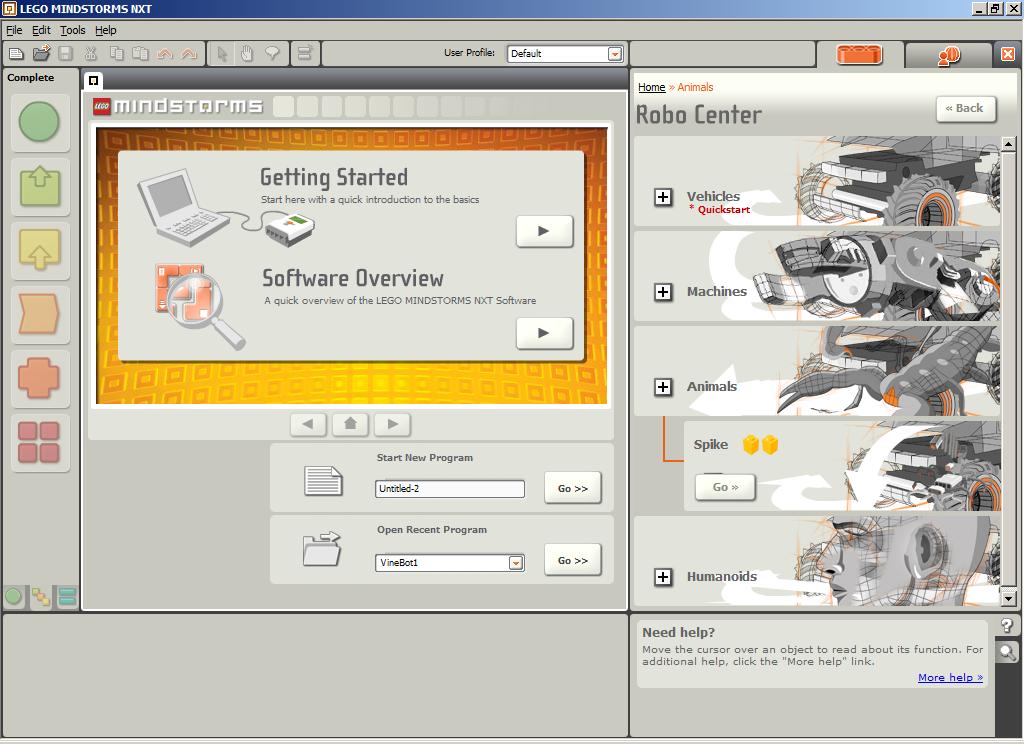
 When you open up the Mindstorms NXT software, this is the start screen. On the right is the RoboCenter. This is where the 18 challenges are covered (broken into 4 categories - Vehicles, Machines, Animals, and Humanoids).
To start a project, you click on the + beside a category. For this walkthrough, I'm going to open the Animals category.
 For each category, there is one major project (in this case, Spike). Each project is broken up into sub-projects that allow you to slowly build the device and program it. In some instances (like the Vehicles category - TriBot) each sub-project has you doing something a little different with the device. For the TriBot, for example, most of the projects have you using a different sensor and learning to integrate it and program it with the basic TriBot base. Here, I'll click the "Go" button for Spike to see the sub-projects.
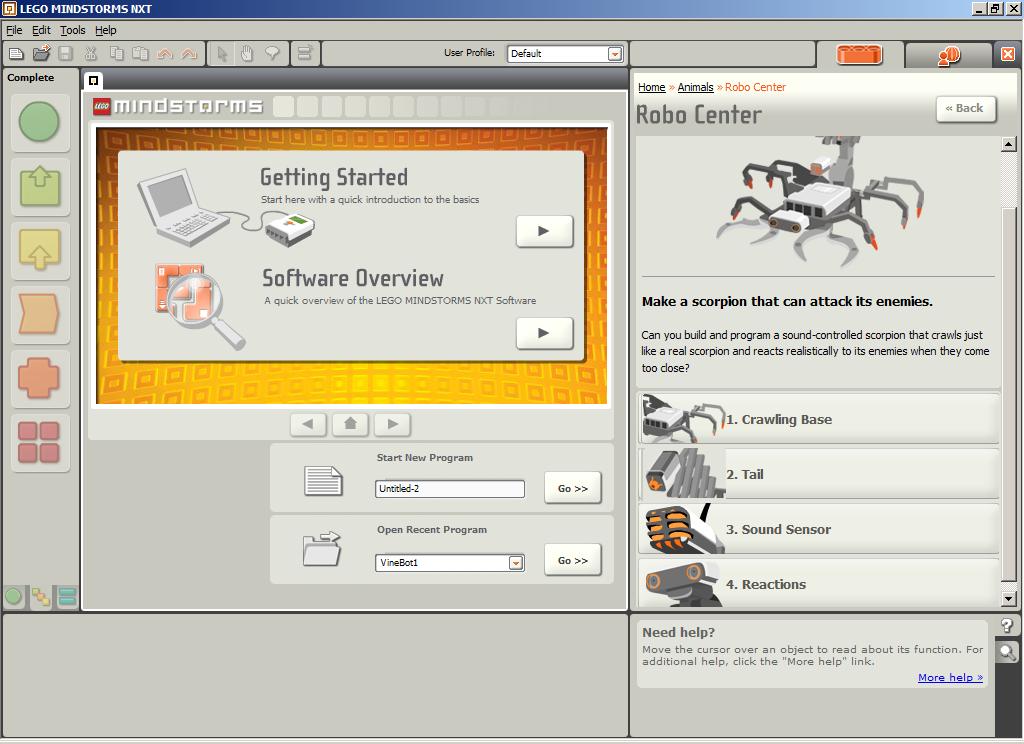
The Spike project opens... and I see that there are 4 sub-projects: Crawling Base, Tail, Sound Sensor, and Reactions. I will click on "Crawling Base" and show you how each sub-project is broken down into further steps.
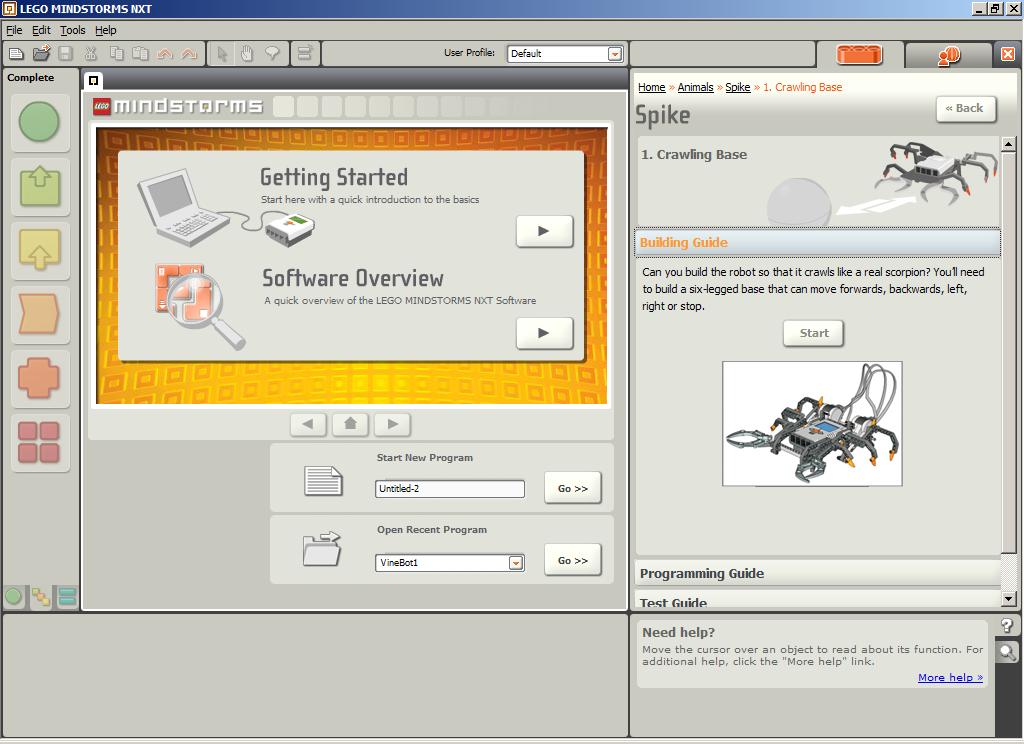
Here, you'll see the first step is to complete the "Building Guide". Each sub-project is broken down into 4 steps:
Building Guide, Programming Guide, Test Guide, and Next Step.
If you click on the title "Building Guide, it will minimize, showing you all the steps (see next image)

For each of the 4 steps, you will be given visual instructions. In the case of the Building Guide, you will see images showing you how to build Spike using the NXT components. In the Programming Guide, you are given visual steps for programming using the software...
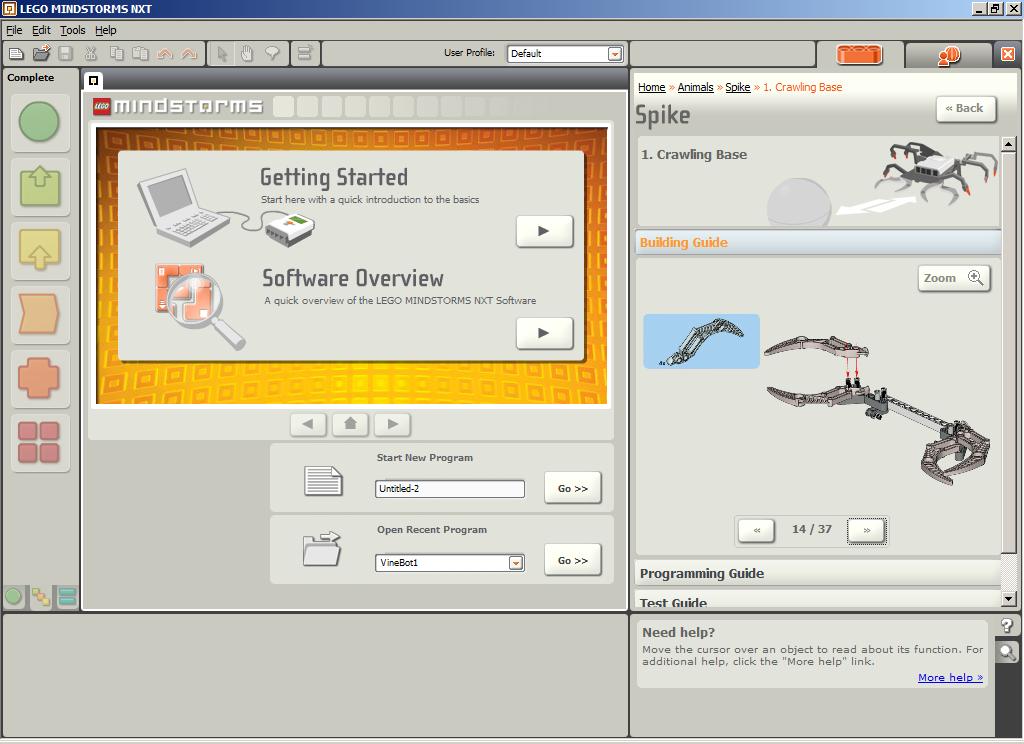 Here, I've skipped ahead a little bit (step 14 of 37)... if you click the "Zoom +" button...
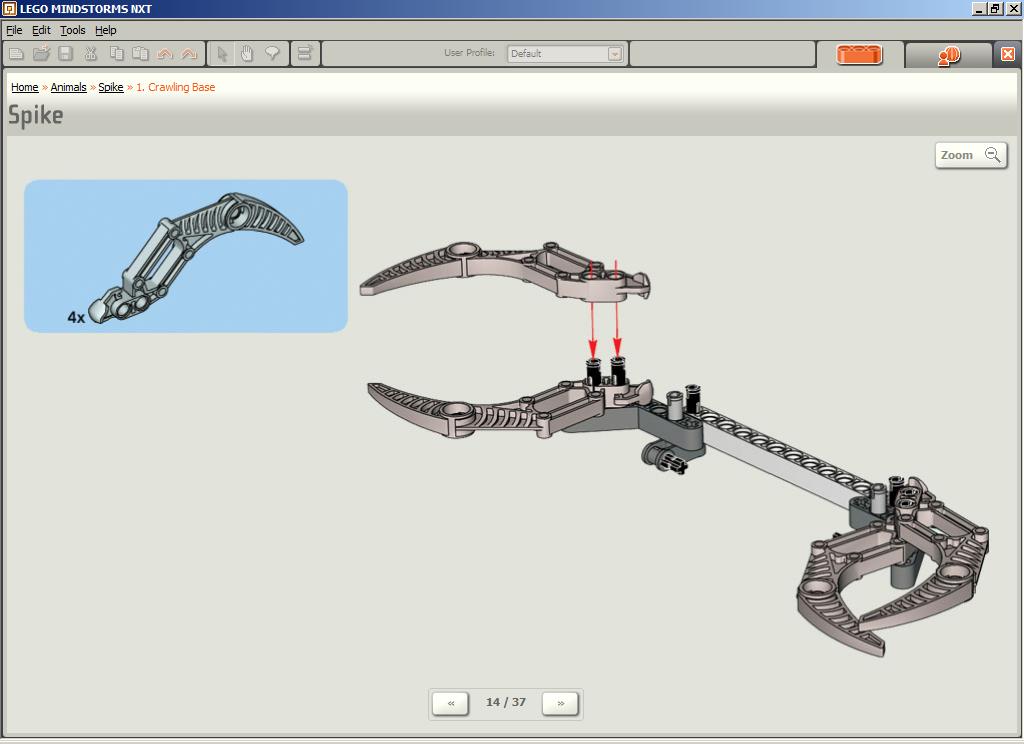
... you'll get a full-screen view of the assembly instructions. Click the "Zoom -" button to return to the smaller view.
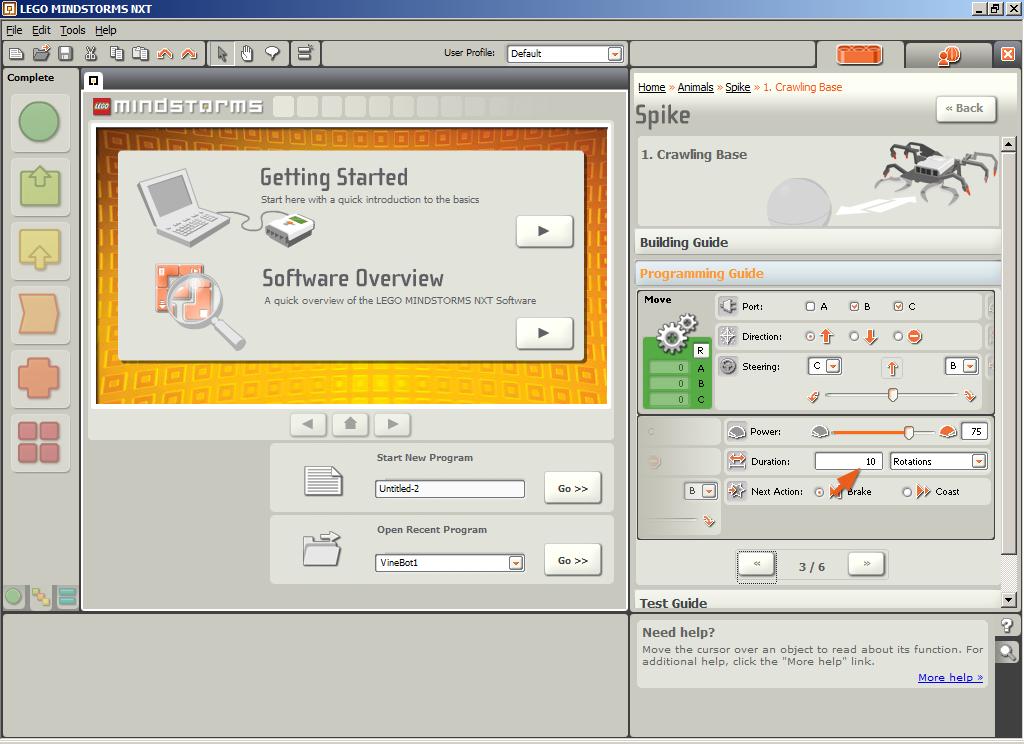 Here is a view of the Programming Guide, step 3 of 6. Each step either shows you the block to drop in OR the block's configuration panel (with little arrows showing you where settings should be changed from defaults to something specific to Spike).
And, finally, a view of the Test Guide. Here you're given the tasks to perform with the particular sub-project you are working on. In this example, for each of the 4 steps you were to test a particular function. The final step (4 of 4) gives you a checklist to verify before you click on "Next Step" - (which simply takes you to the next sub-project - in this case, the "Tail" project) - and suggestions for fixing any problems you might encounter.